Despite its fragile exterior, the human body can withstand moderate situations where people are likely to expose themselves to risks.
Whether on purpose or otherwise, it’s rare for people to avoid the danger unless they willingly isolate themselves from the outside world. After all, that’s where life officially starts for everyone.
However, considering how prone we are to all the dangers at work, school, or home, accidents and injuries are inevitable at times.
So, it’s safe to say that anyone’s bound to encounter pain one way or another. Although there are ways to prevent accidents, we should still be wary of safety precautions to avoid them.
What Is A Splint?
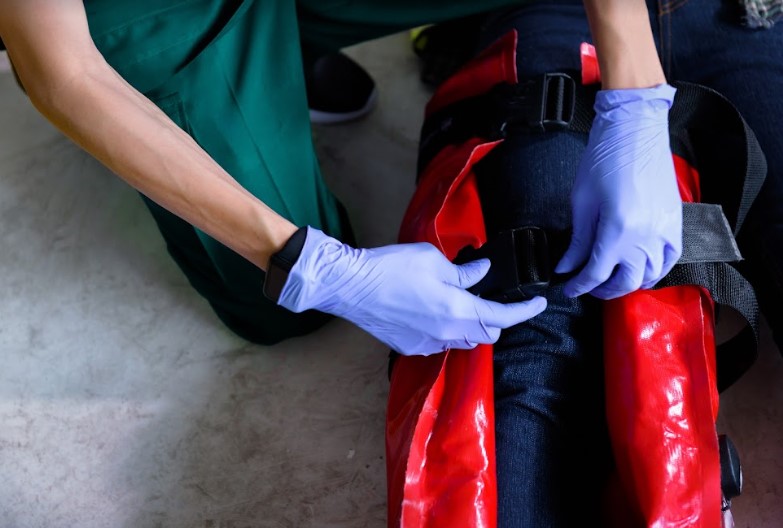
A splint is used to protect an injured body part. But besides protecting it, splints are also designed to keep the affected body part from moving. This way, its healing process won’t get disrupted by outside elements.
Typically, splints wrap a body part containing a broken bone. Despite how durable the human body is, it’s still far from what you’d consider ‘invulnerable.’ The human body can also receive damage from blunt force to falling.
So, splints should always be present in first aid kits, such as those you can buy from sammedical and other kit manufacturers.
Despite this, almost everyone admits they don’t always have a kit in hand. But that doesn’t mean you’re supposed to lie down and take it since that’s what’s coming for you.
Instead, you find other ways to make do. Fortunately, making an emergency splint is doable. All you have to do is learn how to go about it.
- Diagnose The Injury
As mentioned earlier, there are many reasons for a person to use a splint. Whether you broke something or your joints hurt after falling wrong, determining the injury will help you know how to handle it better, especially if there’s any bleeding.
Because instead of the splint helping with the injury, you can irritate any open wounds. On the other hand, moving them would worsen their condition even further if they fracture anything.
Once you have the big picture, you can finally proceed with making the patient a splint. However, the one you will make should accommodate their injury. Fortunately, there are three types of splints you can choose from:
- Rigid Splints. This splint is most likely what you’d have in mind when the medical device is brought up. Since they’re made of firm materials such as cardboard, it’s best applied to patients whose injury needs support. Furthermore, adding padding inside will make it comfortable for the patient to wear due to how hard they are.
- Soft Splints. Compared to rigid splints, soft splints are as soft as they can get. Although, that doesn’t mean they’re ineffective. Because instead of being wrapped in hard materials, soft splints consist of double-walled and transparent plastic available in various sizes and shapes.
- Traction Splints. Out of all of them, traction splints are the only type that requires a mechanical part to fulfill its purpose. Without it, this splint won’t be able to provide any traction to reduce pain and minimize movement.
By identifying what kind of injury the patient has beforehand, you can better fulfill their needs exclusively.
- Prioritize Coverage
Although applying a splint is your top priority, remember that you’re a first aid practitioner. And among the basics of first aid, you need to cover up the patient’s injury if they have any, especially if it’s an open wound. After dressing their injury, you need to deal with the splint next.
Now you know there are different types of splints, choose whichever design suits your patient best. Once you have that detail, all you have to do is lay down your options regarding materials.
If you’re visualizing a rigid splint, use sticks or trekking poles for it to retain its shape, while nylon cords or rope can hold the entire thing together.
You can use these latter materials as a binding agent for soft splints, albeit what you should utilize is an ACE wrap or large sheets that are available on hand. Even puffy jackets will do the trick.
At face value, they all have different textures. After all, rigid splints keep the injured body part still, while soft splints act more as support.
However, what they both have in common is how they prioritize coverage above all else. Hence, these materials all possess width regardless of the type of splint.
- Prevent Any Movement
As you may already know, splints are typically used on patients who break a bone. Keeping you immobilized is another priority since you don’t want broken bones gnashing against each other. So, in making an emergency splint, it has to be secured above and below the damaged joint.
For example, you broke your elbow. Ensure your splint is tied up on your upper forearm while the other end is fastened around the middle of your arm.
Despite the secure wrap, circulation must continue to flow to improve your healing. On an important note, avoid touching the injured area anymore.
- Make Additional Support
Now you’ve made them a splint, you need to make sure it stays on for a long duration. While the splint’s job is to support you, placing too much weight would only unravel it.
So, if you have the resources, make the patient a crutch to assist them in getting around. This way, your splint is free from holding up the patient’s weight.
Takeaway
Considering how unpredictable life is, people can get injured because of almost everything within their vicinity. So, as a responsible individual, knowing basic first aid is a must because you’re likely to save yourself or someone else’s life that way.
Unfortunately, not everyone has appropriate medical devices and equipment. Therefore, you need to make do with what you have. Fortunately, making emergency splints is simple once you know where to start.

